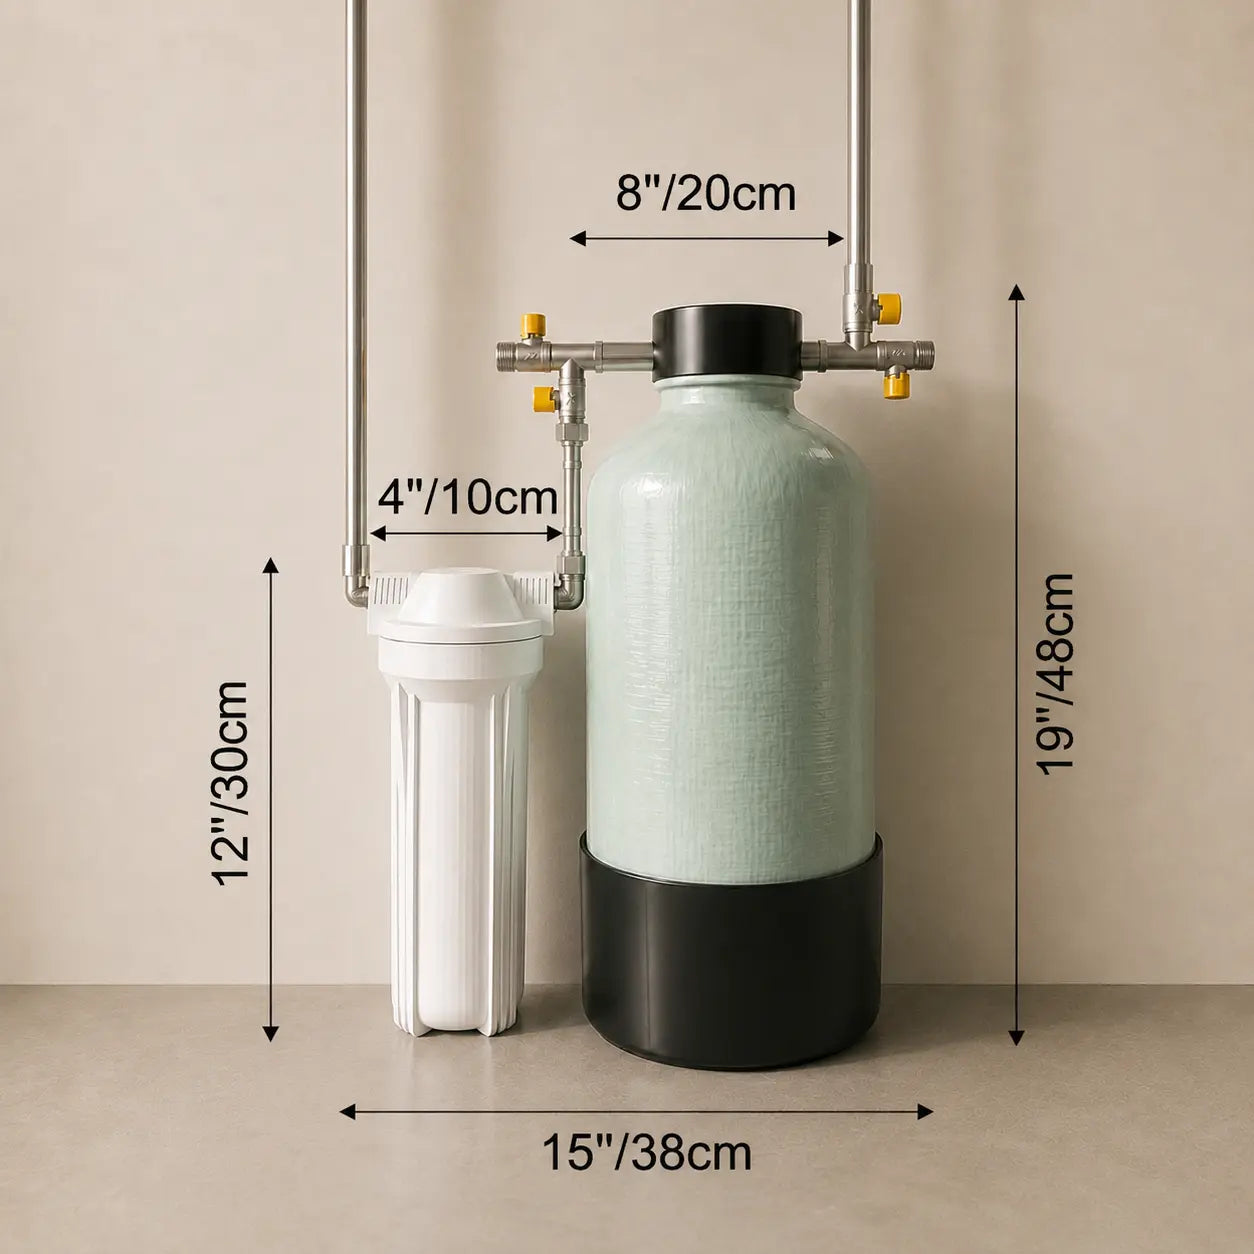
Kit de actualización para el ablandador de agua de ducha
Kit de actualización para el ablandador de agua de ducha
El sistema anterior debía desmontarse en cada regeneración, lo que resultaba poco práctico. La versión mejorada facilita mucho la regeneración.
🔹 Qué se ha mejorado
- Regeneración más sencilla: Las tuberías curvas se sustituyeron por válvulas fáciles de girar, por lo que ya no es necesario retirar el sistema. Solo hay que girar las válvulas para completar la regeneración.
- Piezas más duraderas: Las válvulas y los racores se actualizaron con componentes niquelados y resistentes a la corrosión. Duran más y se mantienen en buen estado con el tiempo.
Los usuarios nuevos pueden omitir este kit de mejora.


Guía para recargar el sistema actualizado
Para agradecer a quienes utilizan la versión anterior su apoyo, hemos creado un kit de actualización para que también puedan disfrutar de una experiencia de recarga mejorada.
🔹 No es necesario desmontarlo
Con el sistema actualizado, no tendrás que desmontar ninguna pieza.
🔹 Control sencillo de las válvulas
Solo tienes que girar las válvulas para completar la recarga con agua salada.
🔹 Mismos pasos, proceso más sencillo
Todos los demás pasos siguen igual; solo se ha simplificado el paso de circulación del agua salada.
📍 Haz clic aquí para consultar todos los detalles de la recarga.
Guía para actualizar el sistema ablandador
🔹 Sustituye la tapa antigua
Retira la tapa original de la botella del descalcificador de tu sistema.
🔹 Sigue la guía en vídeo
Instala la nueva tapa y las válvulas paso a paso con ayuda del tutorial.
🔹 Recarga más fácilmente
Una vez instaladas, podrás utilizar un proceso de recarga más sencillo.

Sistema ablandador de agua dura para la ducha
Sistema ablandador de agua dura para la ducha
Los filtros de ducha pueden reducir el cloro, pero no ablandan realmente el agua dura. SoftWaterCare combina un filtro ACF con un ablandador de ducha de intercambio iónico para ayudar a reducir tanto el cloro como los minerales responsables de la dureza del agua en un único sistema apto para apartamentos.